
|
TopNax |
The 5 GHz, Six-Core Project: Core i7-980X Gets Chilly |
|
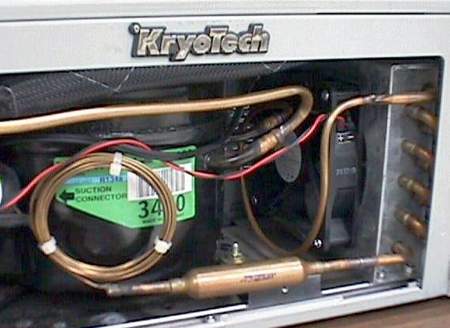
Tom’s Hardware has been ringing the 5 GHz bell for years, yet those efforts have never yielded a practical daily-use solution. Today we take a look at how far off-the-shelf parts can take us with an ambitious 5 GHz, six-core overclocking project. Our history with sub-ambient cooling goes back to the early days of this site, with our discussion of Kryotech’s first phase-change cooler in 1997 and our test of the improved version in 1999. Our 618 MHz Celeron quickly gave way to 800 MHz and 900 MHz Athlons, and even more cooling revisions pushed us past the GHz barrier less than a month later.
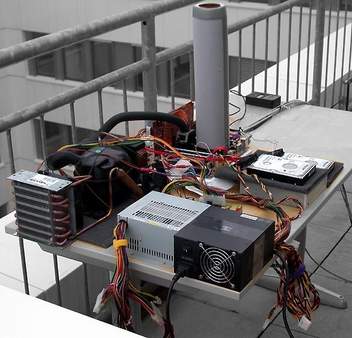
And then the competition showed up. Before Asetek became the purveyor of low-cost liquid cooling, its VapoChill phase-change system streamlined case and cooling components to a single box that supported processors from both AMD and Intel. By the time Prometeia threw its hat into the ring Kryotech had vanished and we had blown past 3 GHz. A few more improvements got us to 4.1 GHz, but reaching the next level would require a major improvement in either CPU technology or cooling capacity.
Liquid nitrogen cooling on the CPU and a phase-change cooler on the chipset finally allowed us to go beyond 5 GHz six years ago, an effort that inspired competitive overclockers the world over. Of course it wasn’t practical, because there were no practical 5 GHz solutions at that time. It wasn’t until Intel released CPUs on its 32 nm production process that “permanent” cooling solutions began to look viable for achieving these speeds. In fact, Chris Angelini was able to boot at 4.93 GHz using his Core i5-655K on air.
The technology was now in place to forgo temperamental liquid nitrogen cooling in our 5 GHz efforts, yet reaching this speed on a low-cost CPU that was already capable of running stably at 4.6 GHz with air cooling would have appeared trivial. The performance of a 5 GHz dual-core in a world of quad-cores would have been likewise laughable. We needed a properly high-profile, high-tech CPU to make this article worthwhile.
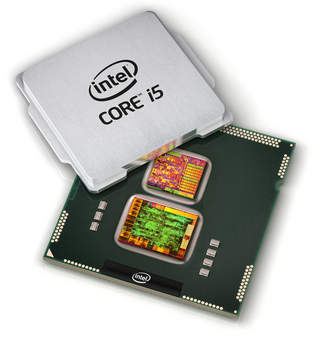
We knew we had a the perfect start for our project when Intel finally released its six-core, twelve-thread Core i7-980X Extreme Edition in March. A cooler with adequate capacity would still be required, and FrozenCPU.com matched us up with the hardware |
The Compressor Returns |
|
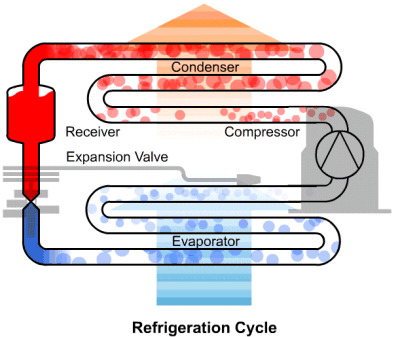
Whether the knowledge comes from a school science class, television, or the Internet, many of us already know the basic principles of phase-change cooling. Gasses absorb heat during expansion, cooling the surrounding area. A gas that has been compressed to a liquid state absorbs even more heat as it changes phase back to a gaseous state, in the same way that water absorbs a great amount of energy as it boils. Gasses likewise give off heat during compression, which is why traditional refrigerators and air conditioners use an outside radiator to remove heat from the gas after it’s compressed. Cooling the compressed gas allows it to change to a liquid state, giving way to the term “condenser” as a name for the “hot-side” radiator.
The evaporator is where a CPU phase-change cooler departs from a traditional refrigerator or air conditioner. While the gas-to-gas heat exchangers of those familiar household appliances resemble a second radiator, a CPU chiller uses a much smaller block-shaped evaporator to draw heat away from the CPU.
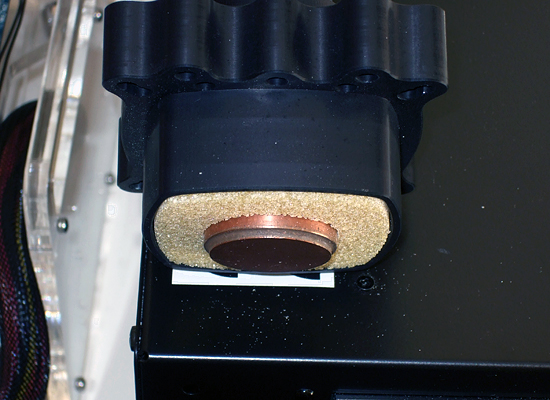
What appears to be a chunk of copper at the end of a hose on the unit above is actually a hollow evaporation chamber connected to two high-pressure lines, with the higher-pressure side delivering the liquid and the lower-pressure side drawing away the resulting gas. The manufacturer for this device, Cooler Express is a Taiwanese firm that produces a variety of single-head, dual-head, chilled liquid and cloud-chamber coolers for electronics cooling, production processes, and laboratory research environments.
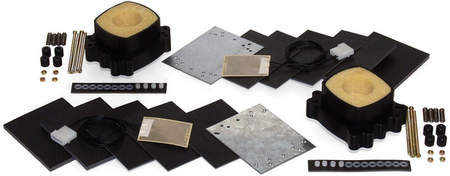
The list of parts included in the package will mostly be determined by the seller. Because the original bracket set did not support Intel’s most recent processors, FrozenCPU.com had a new mounting block machined out of aluminum to support LGA 1156 and LGA 1366 sockets. The aluminum mount is anodized black to match the original plastic part, and also includes a new socket support plate with corresponding holes. FrozenCPU.com adds the remaining hardware to complete the second mounting kit, allowing builders to borrow parts from the original mounting kit if needed. FrozenCPU.com sells the complete unit with both installation kits as its Cooler Express 2010 Super Single Evaporator CPU Cooling Unit. |
The Test Platform |
|
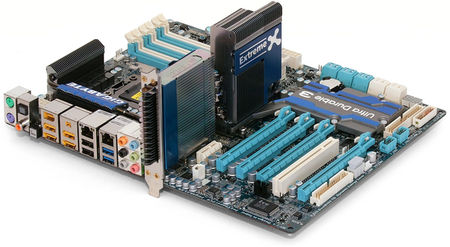
Intel’s Core i7-980X six-core processor requires an LGA 1366 motherboard with recent BIOS, and we just reviewed a few of those in May. Of the boards we evaluated, Gigabyte’s X58A-UD7 appeared to offer the best stability.
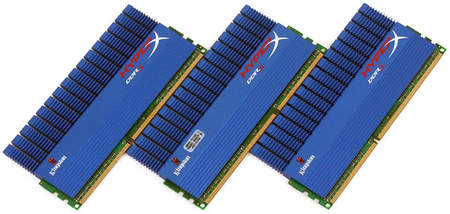
Testing the performance differences of a single processor at various speeds wouldn’t require fast RAM, but we used it anyway.
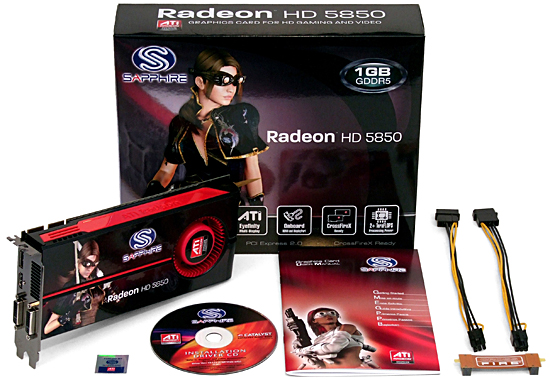
High-end graphics also would not be required, yet we didn’t want the system to appear slow in game benchmarks. Sapphire’s Radeon HD 5850 is more than adequate for producing playable frame rates in most games at high settings.
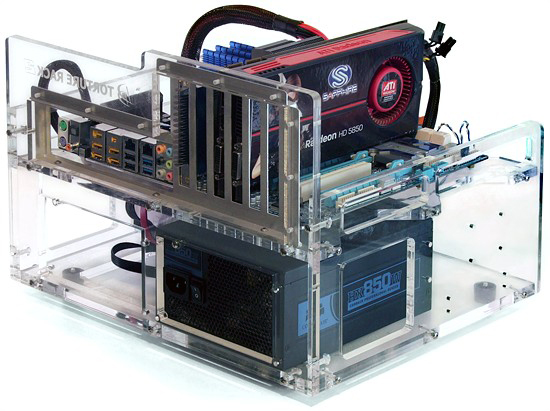
The Cooler Express startup guide suggested a motherboard installation height that almost perfectly matched our Danger Den Torture Rack 2 chassis. That’s a striking coincidence, since we were already using this chassis in a motherboard testing station.
Corsair’s reputable CMPSU-850HX was already installed on the Torture Rack 2 from its use in the motherboard testing station, and we knew this unit would provide far more power than our single CPU and graphics card would require. |
Cooler Express Installation, By-The-Book |
|
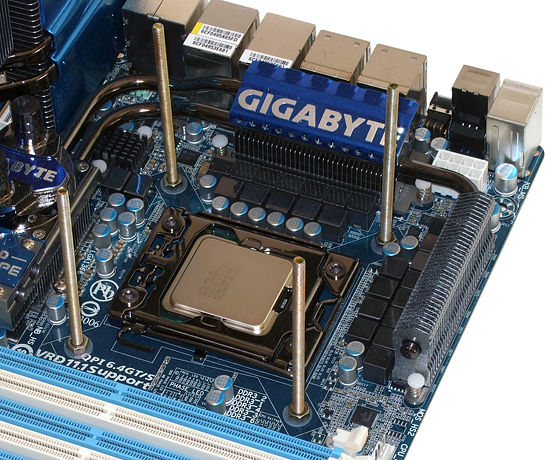
The Cooler Express CPU chiller comes with an installation guide that’s intended for sockets that either don’t have a rear support plate, or in the case of AMD, have had the factory support plate removed. FrozenCPU.com-supplied LGA 1366-compatible hardware substitutes in for the original pieces.
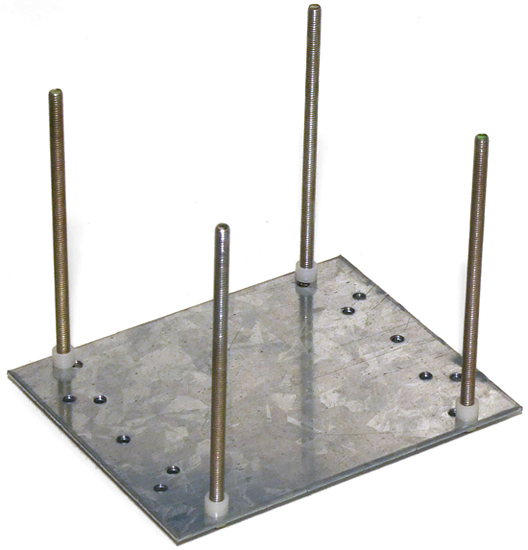
Four mounting screws thread through the back plate, with four plastic spacers added to prevent crushing of the included insulation sheets. These spacers probably aren’t long enough to fully serve their purpose when installed over the socket support plates of LGA 1156 and LGA 1366 interfaces, but we made no changes here.
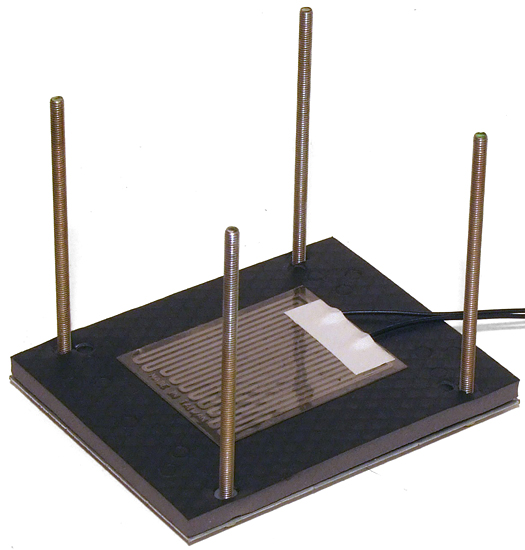
A thick piece of insulating foam is then placed over the support plate, following by a heating element. The heating element prevents condensation from forming on the back side of the motherboard when the CPU chiller cools the socket.
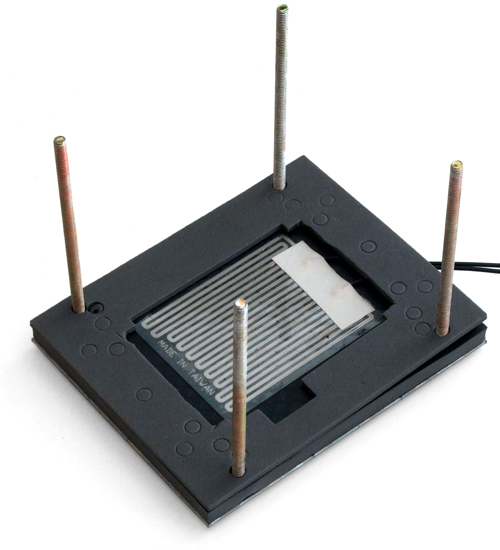
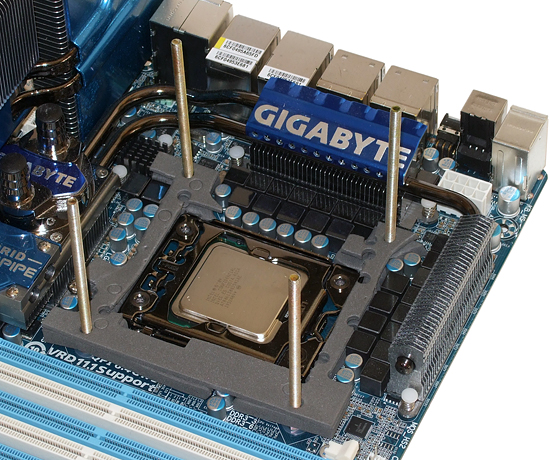
The instructions said nothing about adding another sheet of insulation, but the unit was designed to be mounted over a flat surface. We cut an additional piece of thin foam to fit around the socket’s original support plate, closing the gap between the motherboard and the original insulation sheet.
The cooler’s support plate screws are then inserted through the motherboard’s original CPU cooler mounting holes. Four nuts secure this support assembly, using plastic washers to prevent motherboard scratches and related circuit damage. |
Insulation Installation |
|
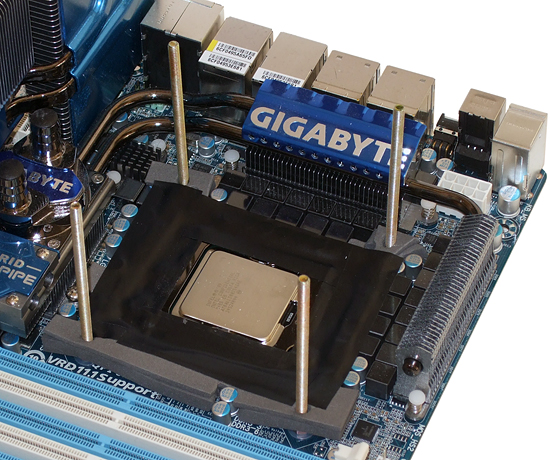
Continuing our by-the-book installation, we added two sheets of insulation around the CPU socket, trimmed to clear onboard devices. Notice that there is no space at all for insulation between the CPU socket and one side of the CPU voltage regulator.
Having no insulation to seal one side is like “asking for trouble” from condensation, but we nonetheless continued to follow the installation manual by taping over air gaps around the socket’s top.
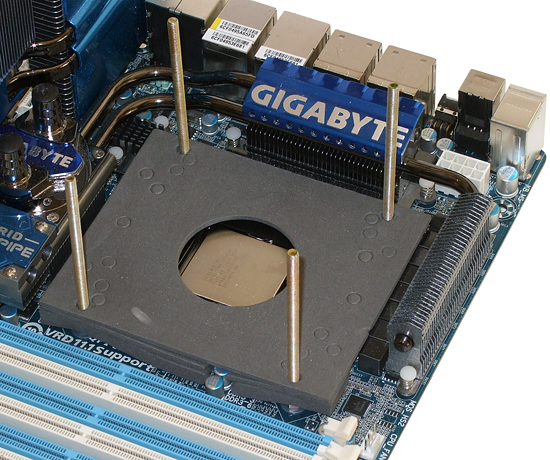
A final insulation barrier is meant to seal the top of the CPU socket to the bottom of the evaporator’s mounting block, but it looks a little thin to us.
One of the problems we see is that the final foam sheet (above) is thinner than the portion of the evaporator protruding through the mounting block (below).
|
